PRE-PARTY PILGRIMAGE
A SHORT TOUR OF SOUTHERN JAPAN

This article is separated into two parts. One tells the narrative of our journey and the other is a guide to traveling to Japan to ride, and help with what to bring and how to organize the trip. I hope you find either/both interesting and useful.
THE RIDE
On those days that I’ve daydreamed, thinking of the roads I pledge to ride in my lifetime, the Japanese tarmac never really featured. Never in conversations with riding friends or with family.
On those days that I’ve daydreamed, thinking of the roads I pledge to ride in my lifetime, the Japanese tarmac never really featured. Never in conversations with riding friends or with family.
Perhaps because of the distance geographically and culturally, but also the logistics of doing it. I also never thought of it as a riding paradise. As it turns out, a true dark horse compared to those other, closer, and more historically renowned parts of the world for riding.
I found out more about Japan over the last couple of years, and started living in eastern Asia, and soon it was the first place in my mind when dreaming, and first out of my mouth, during these mouthwatering cyclo-fantasy conversations.
Also huge electronic music aficionado’s (there has been a huge scene in Japan for many decades), Kseniia and I became aware of a certain music festival, Rainbow Disco Club, attended by many of our vinyl spinning hero’s. It was occurring in the spring. Perfect cycling time!
8 months later, in April 2018, we touched down in Tokyo. Making the dreams a reality.
Day 1: Onomichi - Saijo. 67miles with 2000ft climbing.
We decided to start the trip with the often voted ‘No.1 cycling road in japan’. The level of financial investment in this cycling route is difficult to ignore, and makes for some of the most fun roads that I have ridden. I had planned a terrible route, but had been given the correct one by Mr Baba; a friend of a friend, who owns ‘Better Bicycles’ in Onomichi City (well worth a visit if you’re there).
We spent the day island hopping; ascending and descending entry/exit ramps of sea bridges, built specifically for bikes, trailed with a blue line, signifying the most beautiful and best cycling route over the islands. If you do go to ride there, the trick is not to plan the route, but just to follow the Blue lines painted on the roads specifically to guide cyclists.
Apart from running slightly behind schedule (due to enjoying ourselves too much and having a spectacular view around most corners), the day went smoothly, and we found a spot to camp next to a large dry river estuary, just after dark.
Day one was honestly the most picturesque and perfect way to start the day. Onomichi and the bridges are totally beautiful and just so fun.
Day 2: Saijo - Naoshima Island. 80miles with 2000ft climbing.
If we had managed to get to about 70 miles the first day it would allow us to visit Naoshima Island. And if not, we would have to revert to ‘Plan B’ which was to take a less infamous route cutting straight through the island. We had just made around 70, so kept to Plan A. Plus, the route on Day 2 was largely flat, so we thought we had a good chance.
The temperature was perfect and the day began with some lovely coastal roads. However as the day wore on it became apparent we would be enjoying the more industrial part of islands coastline. The roads were multi-lane’d and the power plants ever increasingly overgrown with pipes. It wasn’t all bad. There were paradisiacal sections which made you instantly forget your prior tyre tracks.
Towards the end of of the day, We were running late (of course). And as fate goes, this is when you puncture. Not once! But twice. We put in a good spurt from about 45-60 miles and then tiredness kicked in for Kseniia. It looked like we would miss the last ferry. But we pushed, and she clenched her teeth, and we made it to that boat with 3 minutes to spare. Just in time to cruise towards one of the most beautiful setting suns I have seen in a long time.
Day 3: Rest Day on Naoshima Island. Approx 15miles with some Climbing.
Turns out that Museums are closed on Mondays. Good job we had ended up on an art museum Island on a bloody Monday! Once we found out, we banged our heads against the proverbial wall. BUT the day was not lost. It was fantastic weather. Warm and breezy. We first visited the only open museum on the island, the Benesse Art Museum, then went searching for all the examples of outdoor monuments and artworks the south east side of Naoshima had to offer.
One of those days where you are forced to take it slow and relax. And wow was it enjoyable. Even had time to send a postcard to family and friends! Can’t remember the last time I did that (even though I collect postcards with every museum visit…). There were also fewer ‘tourists’ or large tours of people on that day, which made the hidden art house projects seem all the more humble in their quaint surroundings.
We decided to pitch our tent on the beach that night. We carefully checked the tide line and with the sound of the waves deafening, hoped we would float into a dream world and not out to sea.
Day 4: Naoshima Island to Hiketa. 29miles with 900ft Climbing.
We awoke…… Still on the sandy shore, BUT with the tide about 1 meter from impending doom (ok, a bit dramatic). What was a bit dramatic, was that it had rained, and our tent was pretty soggy. If theres one rule about camping, its that you don’t camp anywhere near wet sand.
We tried to get our stuff a bit dry, but it was of was little use.
While walking before bed the night before, we had decided to stay for an extra morning on the island (it was now Tuesday and everything was open, Whoop!) and visited the Chichu art museum which was bold and definitely not over-hyped by our 'fan-boy’ friends. Then onto see the innards of a few arthouse projects then, in general, appreciate Tadao Ando (infamous Japanese architect behind most of the main attractions on the island) and his intriguing work, at the Ando Museum.
At 2pm, we hopped onto the ferry and made it back to Takamatsu. By now, however, it was a bit drizzly again, and we rode most of the rest of the day, soggy, and our gear still damp. We treated ourselves to a small hotel with some lovely hosts and proceeded to hang every single piece of clothing and gear (including the whole tent) up in our room. Looked a bit crazy, but it was worth it! Everything was bone dry the next morning.
Day 5: Hiketa - Kobe. 63 miles with 3000ft Climbing.
It was a beautiful morning and we got out early only to find a heavenly tailwind pushing us towards one of the most heavenly sections of our journey. When you carry lots of gear, a tailwind’s effect is really amplified and almost euphoric.
We entered into the Naruto National Park area and were met with clear roads, clear skies and dense green. Bridges protruded from tree lines, bowed, and dived back into them. There were hills, but they weren’t horrid. We cruised through and were making great time, until we hit the Onaruto Bridge. A bridge on which I was sure could take bikes (like those on Day 1). But alas, after asking and searching, it seemed the only way we could was to get a bus. Fortunately, as I have eluded to before, the public transportation is phenomenal, even in these less populated areas. A hugely kind man in a convenience store helped us (theres a pattern emerging here…) to get the right bus. We packed up the bikes and took the ride all the way to Sumoto on Awaji Island. This saved us a bit of riding distance, so we decided to take a a detour into the center of this hilly island. I had read a lot of good things about the inside of Awaji Island (compared to its outer circle) so felt compelled for us to do this. It was pretty hard climbing, but we justified it as practice before FUJI.
All was fine, and then. CRUNCH. ‘oh i’ll just keep going’ I thought. Stupid. CRUNCH…. CRUNCH… ‘ok shit’.
I had managed to ride over an unassuming stick and it had completely bent my rear derailleur back and snapped one of my spokes. I was basically crying. There is no way this is happening right now…. I can’t make my bike single speed when we have FUJI to come and 3 more days riding over pretty hilly terrain!
Through these inner tears and curses, I managed to break the spoke out of the rim and (and I still cannot remember how this was possible, it seems impossible now) bent the mech-hanger and derailleur all the way back to a workable position then with pure stubbornness, got back on and gingerly continued riding.
It became apparent, while descending the beautiful hills (not beautiful enough to warrant a broken bike…) that the rim wasn’t enjoying being without a spoke.
We kept going nervously, visited yet another Tadao Ando masterpiece on the Awaji National Government Park, and took the ferry back onto the mainland. First port of call was the nearest bike shop. The one we found fitted a spoke into my wheel and did what they could to true it, and all for free (see! lovely people!). We then rode into the night and through Kobe eventually finding a deserted park, with ablutions!, under a high motorway bridge.
Day 6: Kobe - Osaka then Mt Fuji. 52miles 5100ft Climbing.
There was some interest in our campsite the next morning by the locals, but everyone who was inquisitive was only positive, and those who weren’t curious, well, they let us be.
We rode through Osaka, aiming for a certain Shinkansen train to Fuji, to get an early start up that ‘little’ hill. But after Kseniia having a little fall due to an early morning ‘mind-fog’, two more punctures, and ‘Rinko bag packing madness’, we JUST caught the next train and arrived into Fuji at 2pm.
Fuji itself is industrial and strange, but we soon left that behind for a greenery which rose like an exponential graph, into a low white cloud formation, that we knew housed the mountain beast itself.
It was hard, and slow, and with about 5 miles to go to the peak (not a short distance when you’re climbing at 7-10% gradient for a few hours), Kseniia’s knee started to ache. Darkness started to descend and more Bear warning signs started appearing.
Kseniia’s mood sharply descended as we slowly ascended, and it didn’t help that I had decided to tell a little white lie about how far the top was, to try to keep her going. I was ready to take the abuse that came with it. We weren’t going back.
When we reached the Top, it was pitch black and Kseniia was in tears. There was a visitors center and someone working late. He let us buy a hot drink and directed us to the next town and told us the three words we were both hoping to hear. 'Its all downhill’ (well I’m paraphrasing… he managed to communicate that in broken English and furious head nodding). We descended 20 miles in 30 minutes. And after a failed attempt at entering a cheap drive-in ’love motel’ (we didn’t fancy camping at this point) we found a YMCA on the edge of town and bunked up there. I just wanted to be in and out for the night, but its never as simples that….the hotel I’m talking about. not.. well, you know.
Day 7: Gotemba - Yugashima. 62miles with 5300ft Climbing.
We bathed in a spa like bathhouse that morning on site at the YMCA. A wonderful surprise for a what is normally a boy scout / school trip style hostel.
Then more descending, down to the coast.
Skirting along the coast to get that perfect view of Mt Fuji (a clear day as it was) Kseniia’s knee started to tell us it was done. I had pushed her too far. Too much climbing, in too little time. I shouldn’t have. We had lunch and evaluated.
If we got over the next mountain pass, crossing the Izu peninsula, we would then hook up with a very good bus route that took us practically to the music festival site.
Kseniia had a wave of bravery and decided to give it a go. I knew the pain she was having would not go away and only get worse with each low cadence high gradient pedal stroke, so prepared my mind for a very slow afternoon journey.
We walked most of the 10 miles up to the peak of this mountain. with any gradual gradient we jumped back on our bikes, but they were few and far between. Pushing bikes up the 10% gradients wasn’t much easier than riding them, and it took us until 6pm to reach the top. But it was spectacular. We were in the cloud canopy and stood on the summit at which this mist rolled over from the sea, into the land. Were were there, part of it, inside of it. Amazing to witness. Descending was wonderful as we were being pushed by the sense of achievement of surviving and still witnessing such beautiful sights. We were staggered by the beauty, but emptiness, of these roads. They were pristine, and only a few hot head motorbikes passed us. The roads followed the ridge line, they were not connecting towns or any particular special places. Why had they been built? Why were they so well maintained? We couldn’t really understand, but our perplexed mood was trumped by the enjoyment of riding them.
Day 8: Yugashima - Inatori. 13miles with 1100ft Climbing.
We had found a camping place right next to the Bus stop so took a ride like a cable car up to the top of the next mountain pass, and to both save money and, well, enjoy the descent. Got dropped off and built up the bikes.
Again, some staggering roads going down Kawazu on the East coast of the Izu peninsula. One spiraling twice out from the side of the mountain in order to drop some elevation quickly. Whether it was a strictly necessary engineering novelty, we doubted it. But it was bloody fun and weird.
It was a bit of a nerve-wracking effort along the coastline as it was a holiday and everybody was out on roads with no hard shoulder.
We arrived into Inatori, and all we needed to do was ride up to the festival site. Turns out it was about a 20% gradient in places, the steepest section of the entire trip. The universe has a strange sense of humor. We walked it, and we arrived.
The question was then, how much ‘legs’ had we saved for dancing..?
THE GUIDE
I found it really useful reading guides and blogs about riding in japan, before we left, and so feel I want to give back some of that planning advice I received, after finding my own experience with it. I feel it might be a good way to help you with the hurdles and convince you to do it!
I found it really useful reading guides and blogs about riding in japan, before we left, and so feel I want to give back some of that planning advice I received, after finding my own experience with it. I feel it might be a good way to help you with the hurdles and convince you to do it!
GETTING THE BIKE THERE
Firstly you need to put the thing you used to carry the bike somewhere, while you do your cycling. Sounds obvious, but it can be overlooked! This is especially difficult if you’re not making a loop with your trip. We originally wanted to fly into Hiroshima, then out of Tokyo, having the freedom of doing an ‘A-B’ trip, not an ‘A-A’. But if you want to do this, you need to find some kind of courier service, and organize it all from abroad. Too expensive and tricky for us. So, it would be an A to A trip. Generally there’s 3 options.
Firstly you need to put the thing you used to carry the bike somewhere, while you do your cycling. Sounds obvious, but it can be overlooked! This is especially difficult if you’re not making a loop with your trip. We originally wanted to fly into Hiroshima, then out of Tokyo, having the freedom of doing an ‘A-B’ trip, not an ‘A-A’. But if you want to do this, you need to find some kind of courier service, and organize it all from abroad. Too expensive and tricky for us. So, it would be an A to A trip. Generally there’s 3 options.
Take your bike in a card box, then just chuck it when you arrive. Pro’s: theres no attachment to that box. Cons: It has no wheels, its not the most protective (and maybe too big for some airlines) and you are require to find another from somewhere, before you leave.
Have a friend that can store your bag or box. Pro’s: You know where it is, organization is easy, building and deconstructing is easy. Cons: You might not have a friend, but if you do, your friend could live in the outskirts of a 38million population city, meaning you have to take two bikes on the metro at rush hour for 1 ½ hours when you arrive, and when you leave (taxi wasn’t an option, each ride costs more than a house).
Book a hotel that will store your bag/ box for you. Stay there the first and last night. Pro’s: you have literally no worries about it. Con’s: A hotel that will take a bike box, in a crowded place like Tokyo, is going to be slightly more than our budget! (this was a cycling and wild camping kind of a trip).
Actually there is a 4th option! Buy a bike with ‘couplers’ (google it) that can be packed down to a large suitcase size, then leave the bag/box in luggage storage at the airport (these places don’t normally take something as big as a bike box or bag). A couple of examples that I love are the ones made by Calfee Design http://www.calfeedesign.com and Explorateur http://explorateur.cc/wp/
We used Option 2 (luckily), built our bikes, and rode down to Tokyo Shinkansen (bullet train) station on a beautiful sunny day in Tokyo.
‘TRANSFER’ RIDING
Taking the train is the next element of traveling with the bike. In Japan, you can take your bike on any train, at any time, and if you know your way around and stick to the rules, your journeys will be a pleasure.
Taking the train is the next element of traveling with the bike. In Japan, you can take your bike on any train, at any time, and if you know your way around and stick to the rules, your journeys will be a pleasure.
The only catch is that the bike needs to be in a ‘Rinko bag’ or some form of packaging. If you’re new to this type of bag, no matter how many YouTube video’s you watch, you are still going to have a nightmare before the first couple of trains you take, trying to figure the bag out. In one of our ride transfers, desperately trying to get Kseniia’s bike into the Rinko bag, the whole front tore. Kseniia, in an aptly giggly mood at the time, burst out laughing. I could only reply with:
‘Don’t you bloody laugh. We are NOT missing this f**king train’.
Get a good Rinko Bag. Practice at least once in a non-pressurized situation, before taking your train transfers.
THE CYCLING
Now onto the good stuff.
Now onto the good stuff.
From our experience, the riding is a glorious pleasure. Japan is a truly unsung cycling Mecca. If you are a beginner, it is a bit tricky, but anyone who can handle themselves on a long ride or a ride with some climbing is going to love Japan.
Its extremely mountainous and beautifully green. The roads are smooth and flawless - I was told, because it is a matter of pride with each local government - and the drivers are very accommodating. It may seem strange that people don’t ask if you need help, if you have a flat or are walking your bike up a particularly steep ascent, but it is actually a form of being polite. If you wanted help, you would ask…..wouldn’t you? Why hassle you, in your time of hardship, if you don’t want any help? Makes sense, in a kind of reverse logic way.
If you’re needing help with your route or a certain transfer, you will be given all the help you can get, even with a language barrier. We never felt like we were alone in this trip. We had our unknown friends waiting for us in unsuspecting places.
And I would like to plug the convenience stores. Family Mart, Lawsons, 7/11. When riding on a budget, and finding a campsite every night, they were a saviour. Open 24h, good food and drink, a place to sit inside, and toilets. They were on every corner, in every part of the country. You were Never more than 1 mile from one. Perhaps deep in the mountains that would be different, but along the coast and city hopping, they are abundant.
ROUTE PLANNING
Japan is a world of hidden gems, like most eastern places: What you see on the outside doesn’t disclose the full reality of the inside. However this also means prediction is difficult, and being totally fresh to the country, judgment only from word of mouth (even if that mouth is wise), satellite imagery, and miniature elevation graphs can be fairly misrepresentative.
Japan is a world of hidden gems, like most eastern places: What you see on the outside doesn’t disclose the full reality of the inside. However this also means prediction is difficult, and being totally fresh to the country, judgment only from word of mouth (even if that mouth is wise), satellite imagery, and miniature elevation graphs can be fairly misrepresentative.
However, I almost have no advice for this other than more studying means less chance of finding yourself in a sticky situation, but just be prepared to get stuck. Because you will. You’ll end up on wide fast roads (those still are not so bad in Japan), or riding on a busy, tunnel-ridden, coastal road with no space for a bike and a car, during a national holiday.
But Japan is like a good teacher when you misbehave - Will sternly let you know you have, but offers mercy, and leaves you with a heightened ambition of self-improvement.
I will disclose that at the end of our 8 days of riding, I made a huge apology to Kseniia. I had planned something that turned out to be just a touch more than her limit for the time we had to complete the route. So perhaps its important then to organize replanning tools. I use a tool recommended by one of my favorite cycling bloggers and vloggers, Alee Denham, of cyclingabout.com. Its called ‘MapOut’, and uses your fineries as a direct routing tool (for anywhere in the world you choose to download the map section for) and gives elevation and other data instantly. Worth the £5 it cost for sure. There of course will be other ‘back-up’ tools like these.
On that one, I’d also check out the videos and posts about his Japan trips. Much better reading than this.
CAMPING
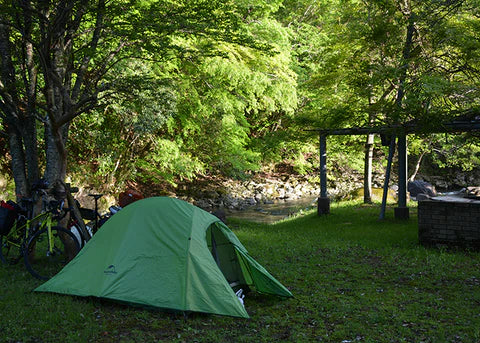
Japan is expensive, and one way you can cut costs (and have more fun) is to wild camp. We camped most nights as the weather was perfect and warm. We would start looking for a place just before it got dark, then always decide on one within 1 hour.
Japan is expensive, and one way you can cut costs (and have more fun) is to wild camp. We camped most nights as the weather was perfect and warm. We would start looking for a place just before it got dark, then always decide on one within 1 hour.
Japan is a great place to do this as well because you can do it in urban areas and rural areas with equal ease. The people don’t care to bother you, as previously explained, and so you have little to no worries about being moved on.
The days we didn’t camp were simply due to being a bit wet and wanting to get dry, or it simply being late and feeling like we deserved a bed after such an adventurous day. You can treat yourself a little!
I would highly recommend wild camping Japan, if not only because you’re not going to find much better places to do it. But you can then also make your money go a bit further.
ART, DESIGN, AND ARCHITECTURE
While I was planning the route, the ‘via’ points were heavily influenced by one thing that is extremely important to my personal and work life. The sublime sensitivity to the human-made environment (architecture; both landscape, and built. And service, and product design).
While I was planning the route, the ‘via’ points were heavily influenced by one thing that is extremely important to my personal and work life. The sublime sensitivity to the human-made environment (architecture; both landscape, and built. And service, and product design).
These are things that affect all of us, on a daily basis and strong affect and direct our lives. Even if it is not you field of work, you must celebrate the impact that Japan has had in this area.
The star of the show was Naoshima Island. ‘The art island’. Littered with examples of exceptionally famous and original work and the harmony of this work with its surroundings. It is a place to view beautiful things in beautiful buildings, celebrated in a beautiful natural landscape. This strong consideration for the connection between all three essential components is magical to experience.
But even though that is the ‘Hollywood’. Everywhere we rode had, in-fact, this care and attention to the big and small. We all know of the bonsai tree and stone gardens of japan, but I hadn’t realized how common this was. Wonderful to see people nurturing a space for such a long period of time. Training a Pine or Cedar tree to bend itself into the archway to your front garden is not something you embark on in a blasé mind-frame. It takes years of attention and care. Yet this act of ‘Niwake’ (using trees sculpturally for structure in a garden) is apparent on almost every village road.
There are too many more examples of this than I can mention here (I will mention some more below), but we also missed a huge amount because of our lack of time to explore the cities we were riding through. So I recommend city-hopping, but pausing with each hop, to truly appreciate this aspect of the place.
We will be going back to Japan, almost specifically for this reason.
Our journey was enriched by its variety. Having multiple reasons for routing a certain way and finishing our journey with another one of our great passions (other than cycling), a music festival, certainly gave extra motivation, meaning, and distraction to something that is otherwise without destination. Its nice to do ‘a loop’ (starting in Tokyo and finishing in Tokyo), but planning it in a way that doesn’t feel like one.
STRAVA ROUTES
Day 1
Day 1
https://www.strava.com/activities/1521877089
Day 2
https://www.strava.com/activities/1523998617
https://www.strava.com/activities/1523998617
Day 4
https://www.strava.com/activities/1528613659
https://www.strava.com/activities/1528613659
Day 5
https://www.strava.com/activities/1530843344
https://www.strava.com/activities/1530843499
https://www.strava.com/activities/1530843344
https://www.strava.com/activities/1530843499
Day 6
https://www.strava.com/activities/1532895834
https://www.strava.com/activities/1532895994
https://www.strava.com/activities/1532895834
https://www.strava.com/activities/1532895994
Day 7
https://www.strava.com/activities/1534531797
https://www.strava.com/activities/1534531797
Day 8
https://www.strava.com/activities/1535815945
https://www.strava.com/activities/1535815945
AUTHOR
Miles Instagram:
Miles Instagram:
@miles_bartholomew_gibbons
Kseniia Instagram:
@zorimira
Kseniia Instagram:
@zorimira
BIKES AND GEAR
Miles - Charge Plug
Miles - Charge Plug
Kseniia - Giant Anyroad
Carry Equipment:
Miles’s Bike
Roswheel ‘TOUR’ Rear rack (prototype)
Roswheel ‘LOHAS’ 18L pannier bag
Ortleib ‘City’ 20L pannier bag
Apidura ‘ROAD’ Frame bag
Peregrine 25L dry sack
Roswheel ‘Essentials’ Top Tube bag
Gear Straps (for handlebar)
Kseniia’s Bike
Roswheel lightweight rear rack (prototype)
Axiom SEYMOUR Oceanweave P35+ Panniers (pair) + 2 rain covers
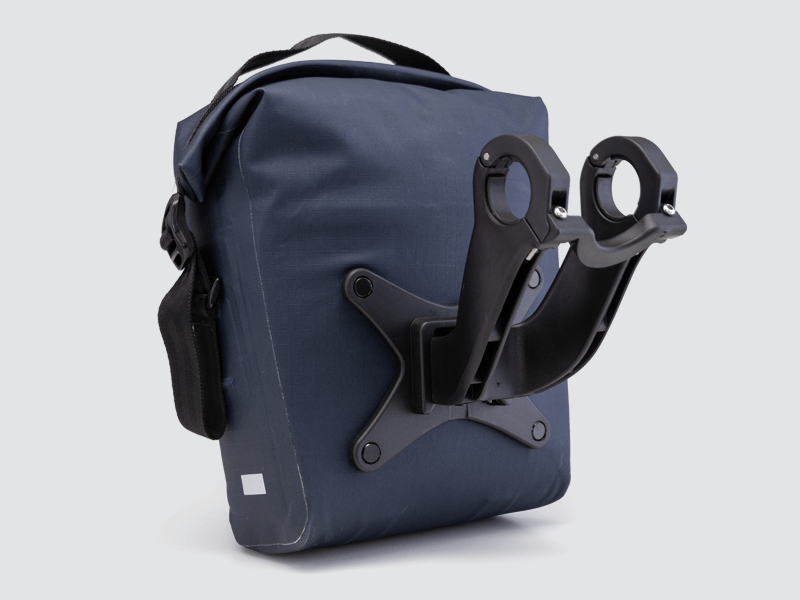
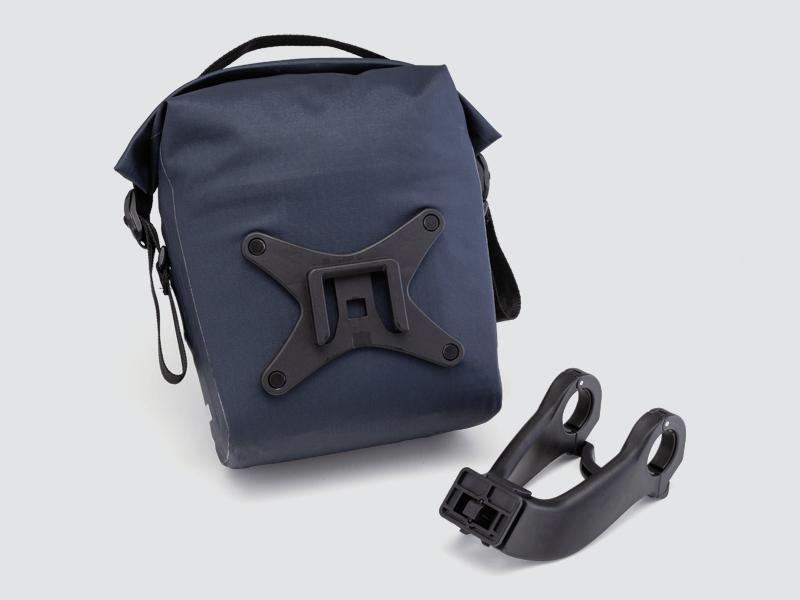
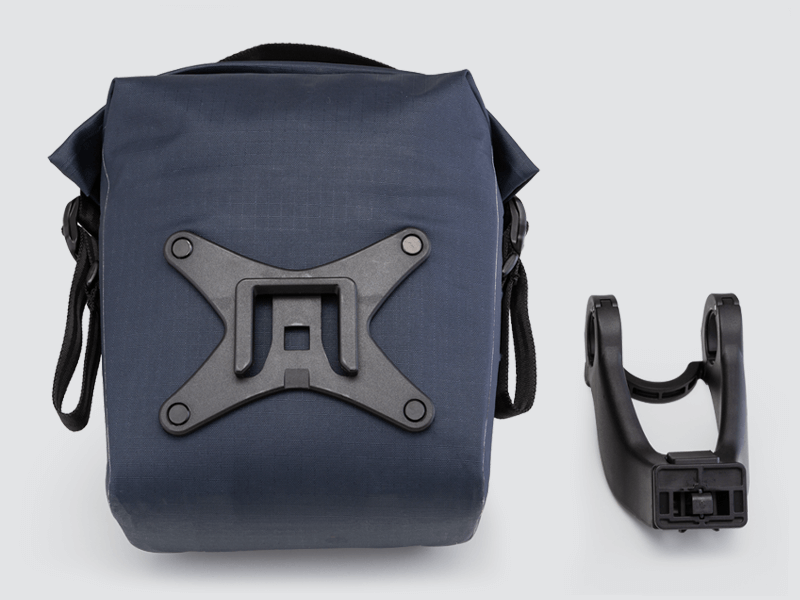
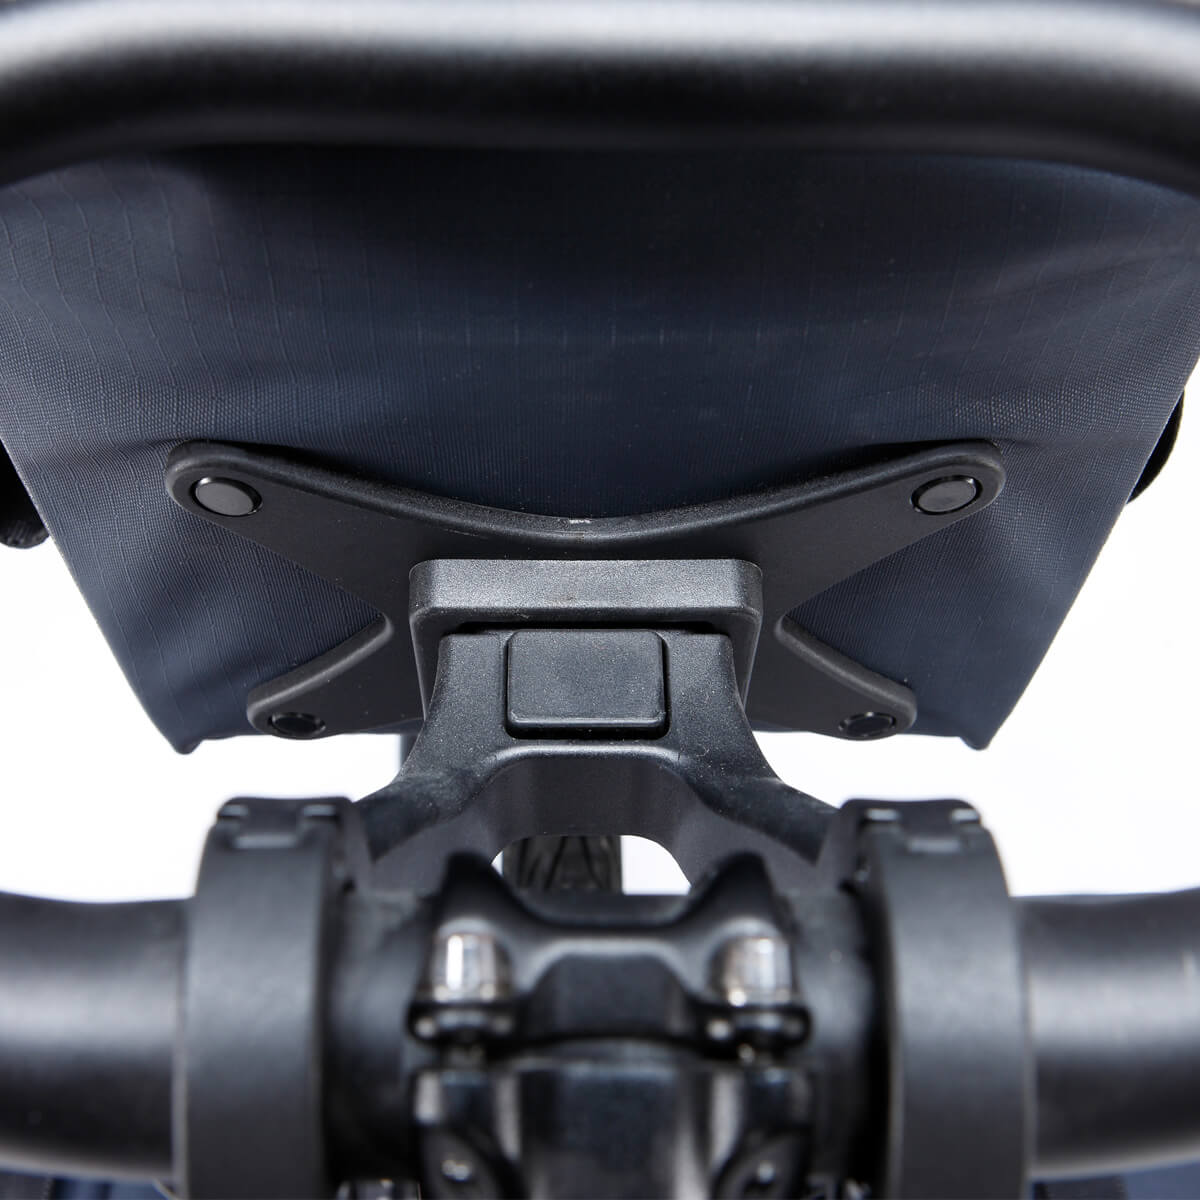
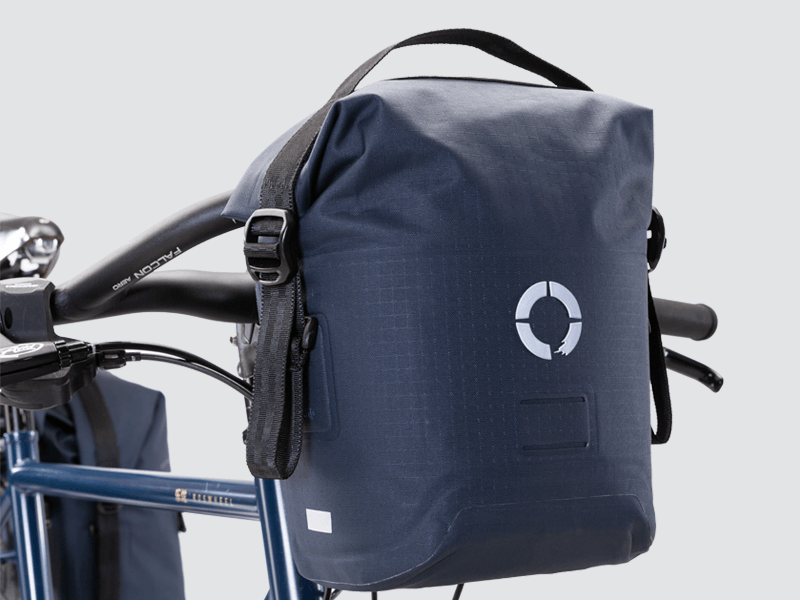
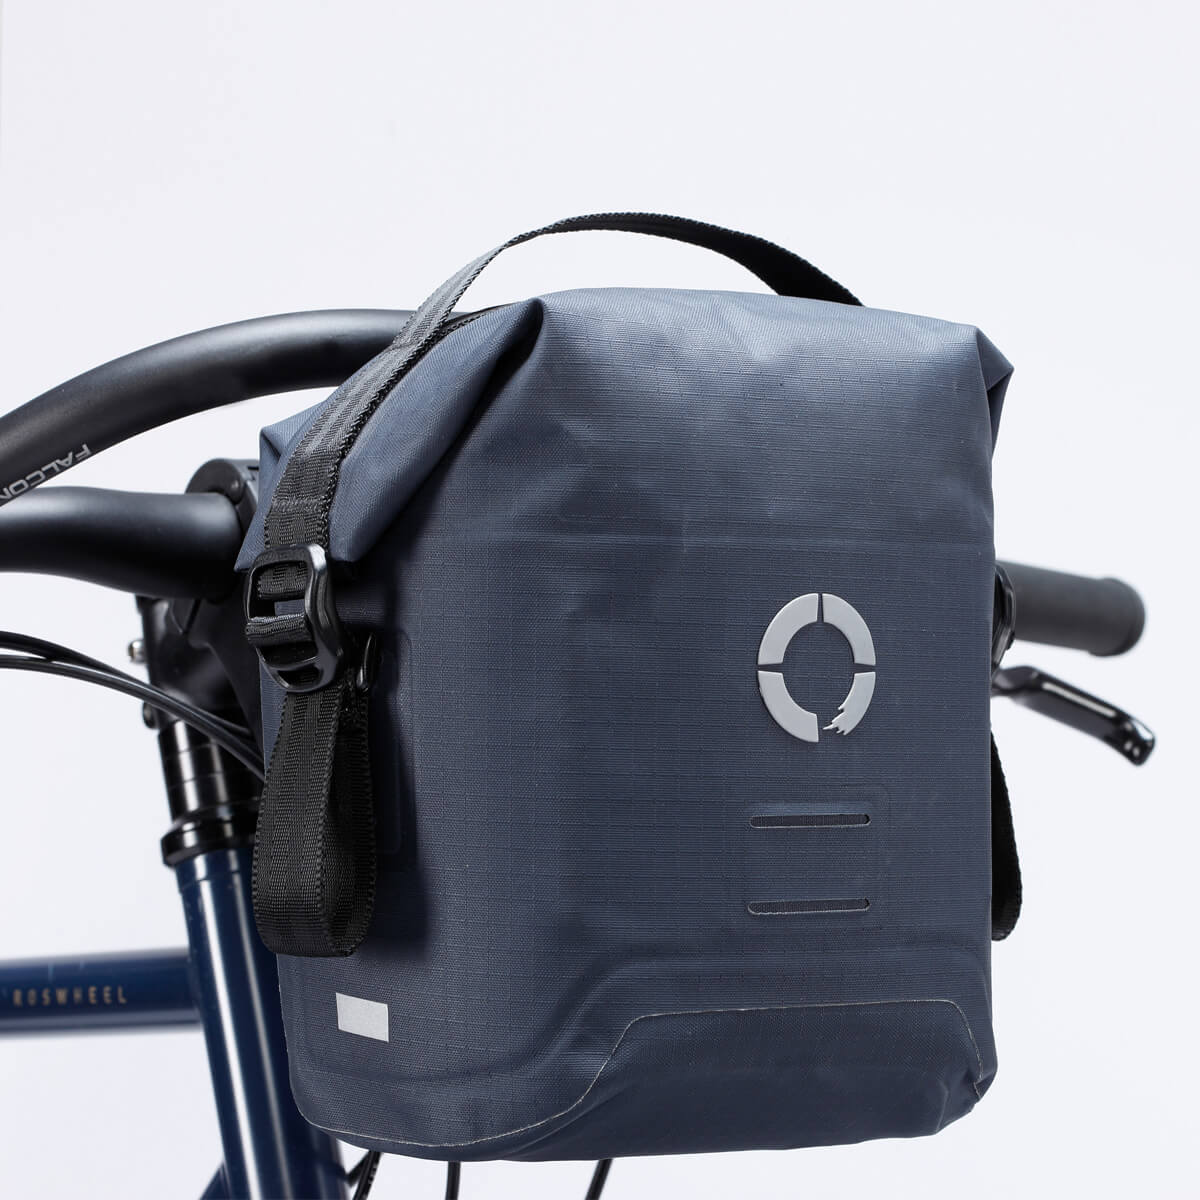
Roswheel ‘TOUR’ handlebar bag
Roswheel ‘Essentials’ Small Saddle bag
Packing List (for 2):
(not including about 20 liters worth of casual/festival clothes)
2 x helmets
2 x rain jackets
Rapha insulated transfer jacket
2 emergency rain ponchos
Rapha Insulated Gilet
Rapha Wind gilet
Rapha pro team jacket
Rapha Brevet long sleeve merino wind block jersey
Rapha classic jersey
Rapha Lightweight brevet jersey
3 x merino base layer short sleeve
2 x winter merino base layer long sleeve
4 x bib shorts
2 x cheap polyester jerseys
10 pairs socks (different thicknesses, mostly thin)
2 x fingerless gloves
2 x fingered gloves
Merino hat
2 x winter collars
2 x leg warmers
Arm warmers
2 x toothbrush and toothpaste
2 x 600g +10ºC summer sleeping sacks (can be zipped together)
1 x 1kg +10ºC summer sleeping sack (can be unzipped flat)
1 x 1Kg 2 person inflatable sleeping mat
1 x 1.5Kg small 2 person tent
2 x Rinko bags (bought from Asahi bike shop when arrived in Japan)
15 x removable extra strong zip ties
3 x different size lightweight dry sacks.
2 x head torch
1 x lightweight meter cable (for lock)
1 x lightweight chain lock
4 x inner tubes
1 x multi tool with chain tool
2 x pairs tyre levers
4 x puncture patches and boot kit.
1 x lezyne pump
4 x 610ml bottles (+ 1 we bought at Better Bicycle in Onomichi)
1 x Exposure Strada front light (with dimmer button extension)
1 x no brand powerful front light with battery pack
2 x rear lights
Assorted USB cables and japanese USB charger (bought in Family Mart)
2 x 10000mAh USB batteries
1 x Garmin 1000 (with SD card of maps)
3 pcs foldable camping cutlery
Pair of sandals (for me as I was riding clipless)
2 x Rapha City sunglasses
Nikon DSLR camera
1x musette bag
1x lightweight packable 10l backpack
Should Have taken:
2 x spare spokes (specific to our wheels) + the nipples + spoke key
Puncture repair kit
Spare Shimano road chain links
Spare gear and brake cable (long length)
Toothbrush, small rag + small lube bottle (for bike cleaning)
1 x spare derailleur and derailleur hangar….. (only joking…sort of…)
2 x spare spokes (specific to our wheels) + the nipples + spoke key
Puncture repair kit
Spare Shimano road chain links
Spare gear and brake cable (long length)
Toothbrush, small rag + small lube bottle (for bike cleaning)
1 x spare derailleur and derailleur hangar….. (only joking…sort of…)
Pictures


